Activate Verification home button
Create App from Facebook Developers
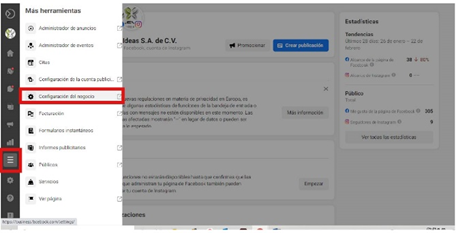
- Within https://business.facebook.com/ go to More Tools
- Go to Business Settings
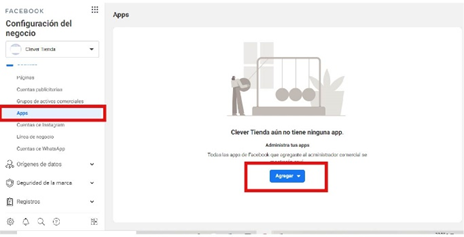
3.- In the menu on the left go to Apps.
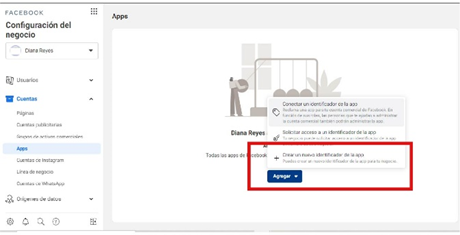
4.- Click the blue Add button. 3 options should appear, click on the third: Create a new app identifier.
If the third option to Create a new app identifier doesn't appear, you need to create a new app from Facebook for Developers.
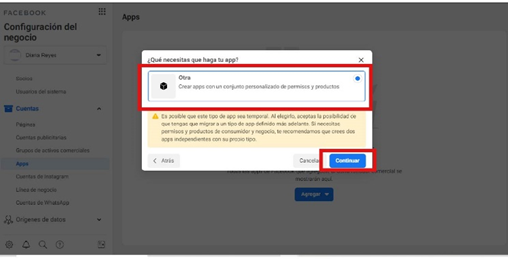
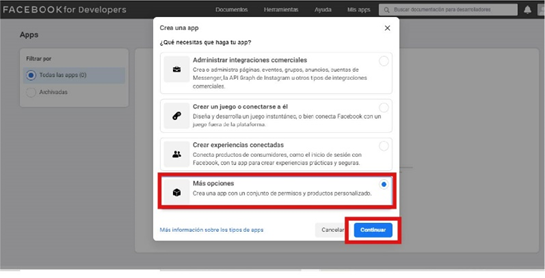
In the What do you need your app to do? select the last option More options and then Continue.
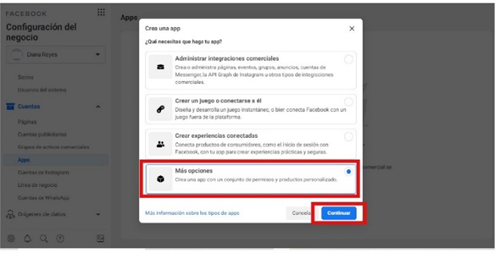
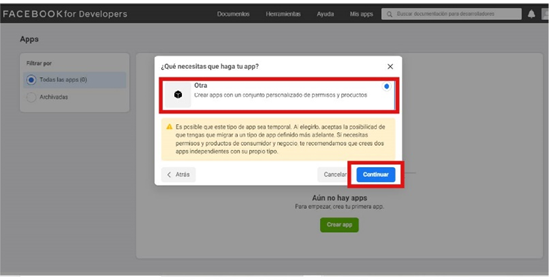
Another window will appear. What do you need your app to do?, where you must select Other and click on continue
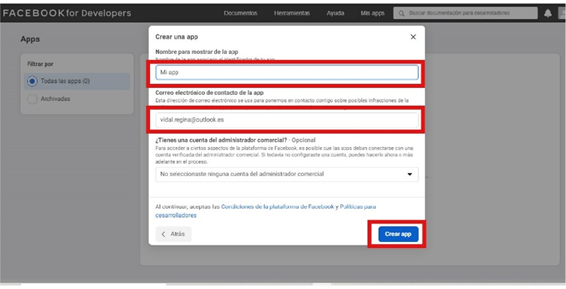
Fill in the fields: Display name of the app with a name that you identify later, and verify that the email matches the same as your Facebook account.
Click on Create app

Go back to Business Settings and refresh the page.
Go to the Security Center where you can already see the Start verification button activated.
If after creating the app the button still does not appear and/or is disabled, proceed with the next step:
Associate fanpage to news page
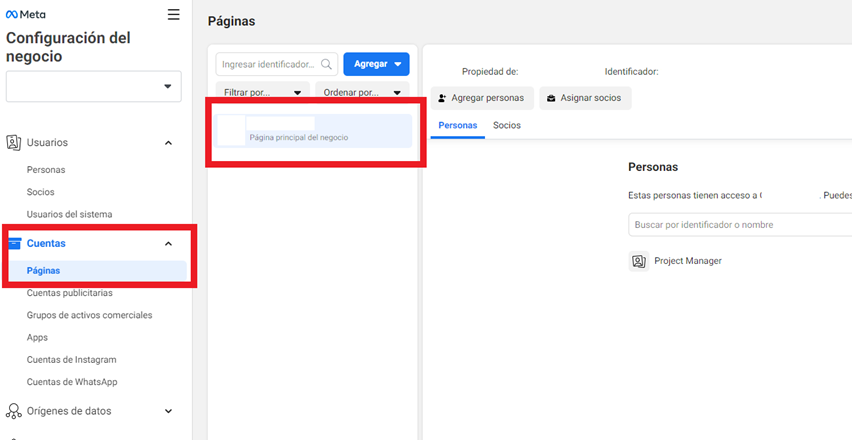
Go to Pages and check that your main fanpage is correctly linked.
Then go to Registration, then to News Page and then select the Select Pages option that will be found in the center of the screen. Select your main fanpage and then Done.
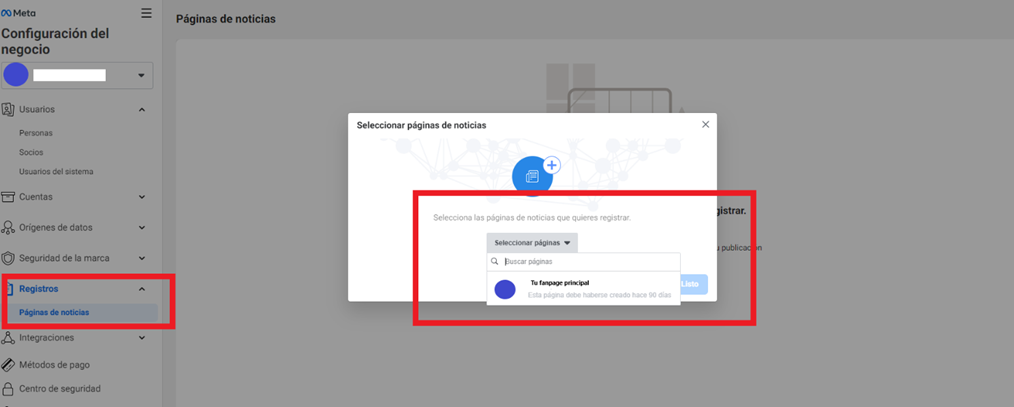
The fanpage must have at least 90 days of being created.
Create a new app from Facebook for Developers
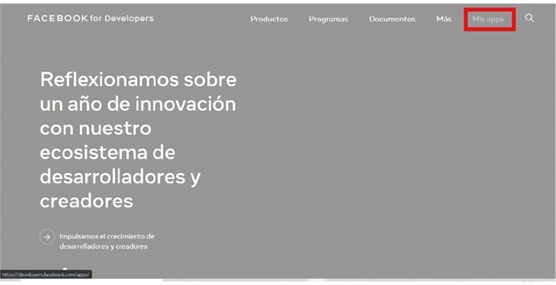
- Go to https: https://developers.facebook.com/
- Log in or create an account with the same email with which the Facebook account you want to verify (or that of an administrator) is administered.
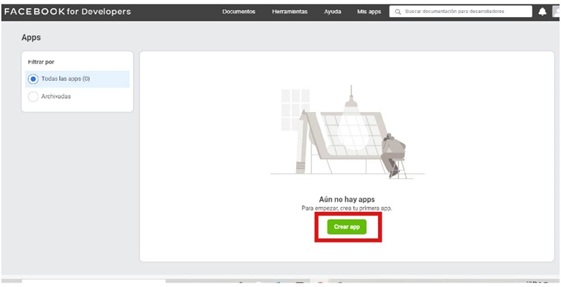
- Go to My apps.
Click Create app
In the What do you need your app to do? select the last option More options and then Continue.
Another window will appear, What do you need your app to do?, where you must select Other and click Continue.
Fill in the fields: Display name of the app with a name that you identify later, and verify that the email matches the same as your Facebook account.
Click on Create app
- Go back to Business Manager and reload the page.
- Perform from the procedure of step d.